Raspberry Pi Parsec Gaming Client
This is a project to use a Raspberry Pi to stream games from my CLX gaming PC to various locations in the house using Parsec.
Software
Getting the Raspberry Pi to act as a streaming solution wasn’t as simple as the instructions from Parsec indicated. The biggest issues we faced (I did this with my friend Sam Cipriani) were latency from attempting to stream a graphics intensive application into the Pi, and then output that onto a big, high resolution TV screen.
Essentially, here’s the process:
- Install raspbian
- Set gpu mem to 208
- To use on a really large TV screen, set Pixel Doubling to
Enabledin the Raspberry Pi Configuration > Display settings. - Add
“options bluetooth disable\_ertm=Y”to/etc/modprobe.d/bluetooth.conf(I think this is just for pairing an XBox controller) - Set mouse poll rate: add
usbhid.mousepoll=8to/boot/cmdline.txt - Install parsec
- Update the encoder bitrate thing in the
.parsec/config.txtfile to 25.
- Update the encoder bitrate thing in the
I use a LAN hardline when I play, and that more or less eliminates all the problems with lag. I think an upgraded wifi antenna might help, but with the built-in wifi, the lag was too extreme to play effectively.
I also play with a Nintendo Switch Pro Controller or a Playstation Dualshock controller, both of which pair very easily with the Pi (compare that to Sam’s problems with the XBox S controller).
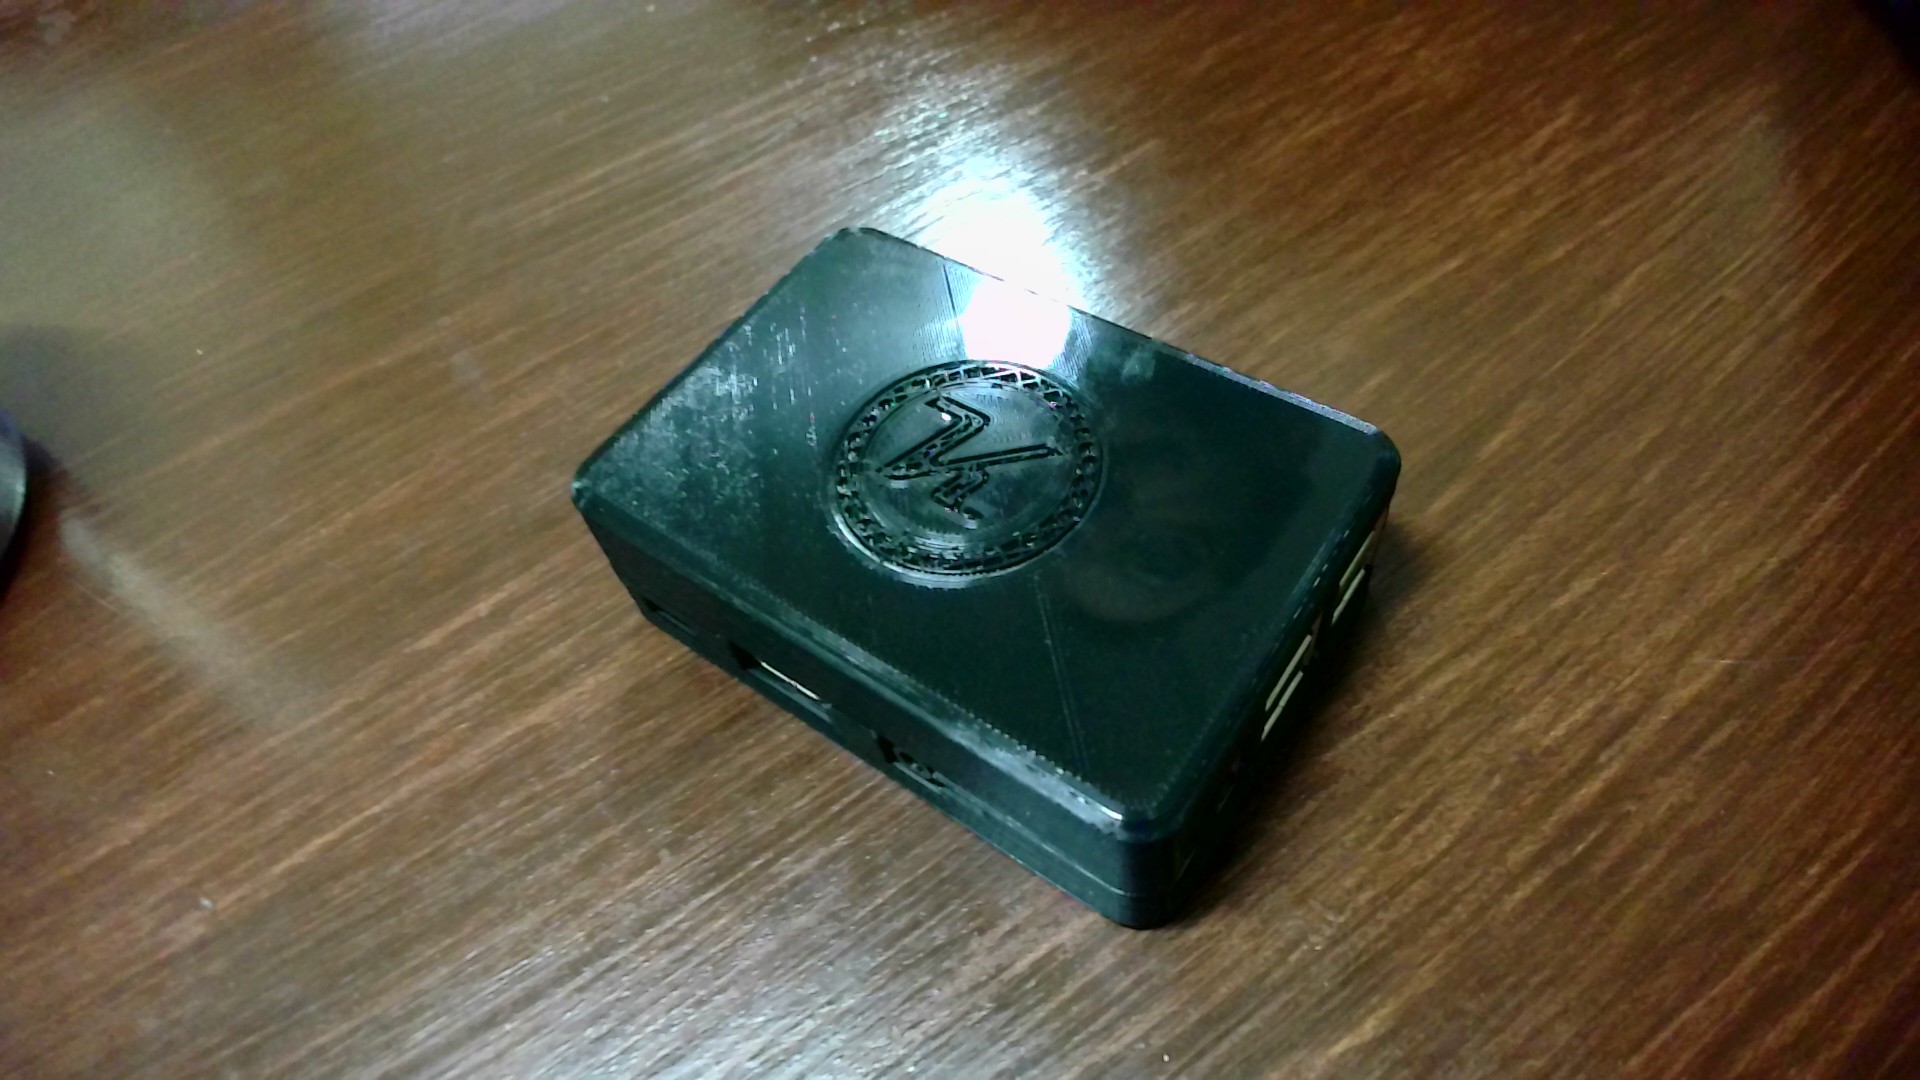
Case
Download the case STL files from Thingiverse.
You can see the project notebook for the case here.
There have been several iterations of this case. The first iteration, I had trouble with the sizing and spacing of the USB ports in the RPi model I used in Fusion360. As a result, the actual Pi did not fit in the case when printed. I also didn’t realize that I needed to slice the case in half as there isn’t enough space for the ports to slide in otherwise. This resulted in several broken attempts.
Once I figured out the spacing and the insertion method, I needed to sort out a way to secure the top to the bottom. The simplest solution I came up with was just to design some screw posts into the outside of the case, but the Pi 3B+ has various ports in locations that make it impossible to get a nice symmetric arrangement for this solution. Internal clips were definitely the ideal, but those were beyond my Fusion360 skills.
Once I had a basically working design, I started over with a much better build process in Fusion360, keeping my components and bodies cleanly organized. I got a working version with external screw posts, and then dove into figuring out a way to do internal clips, which is the latest prototype (printing as I write this).
Once the PLA prototype is checked, I will print in semi-transparent PETG, which will be more heat resistent, allow me to see the LEDs on the Pi, and which is a stronger material for lasting durability.